
Golf Simulator Enclosure Buying Guide: DIY Kit vs. Custom Build

Start With the Room, Not the Enclosure
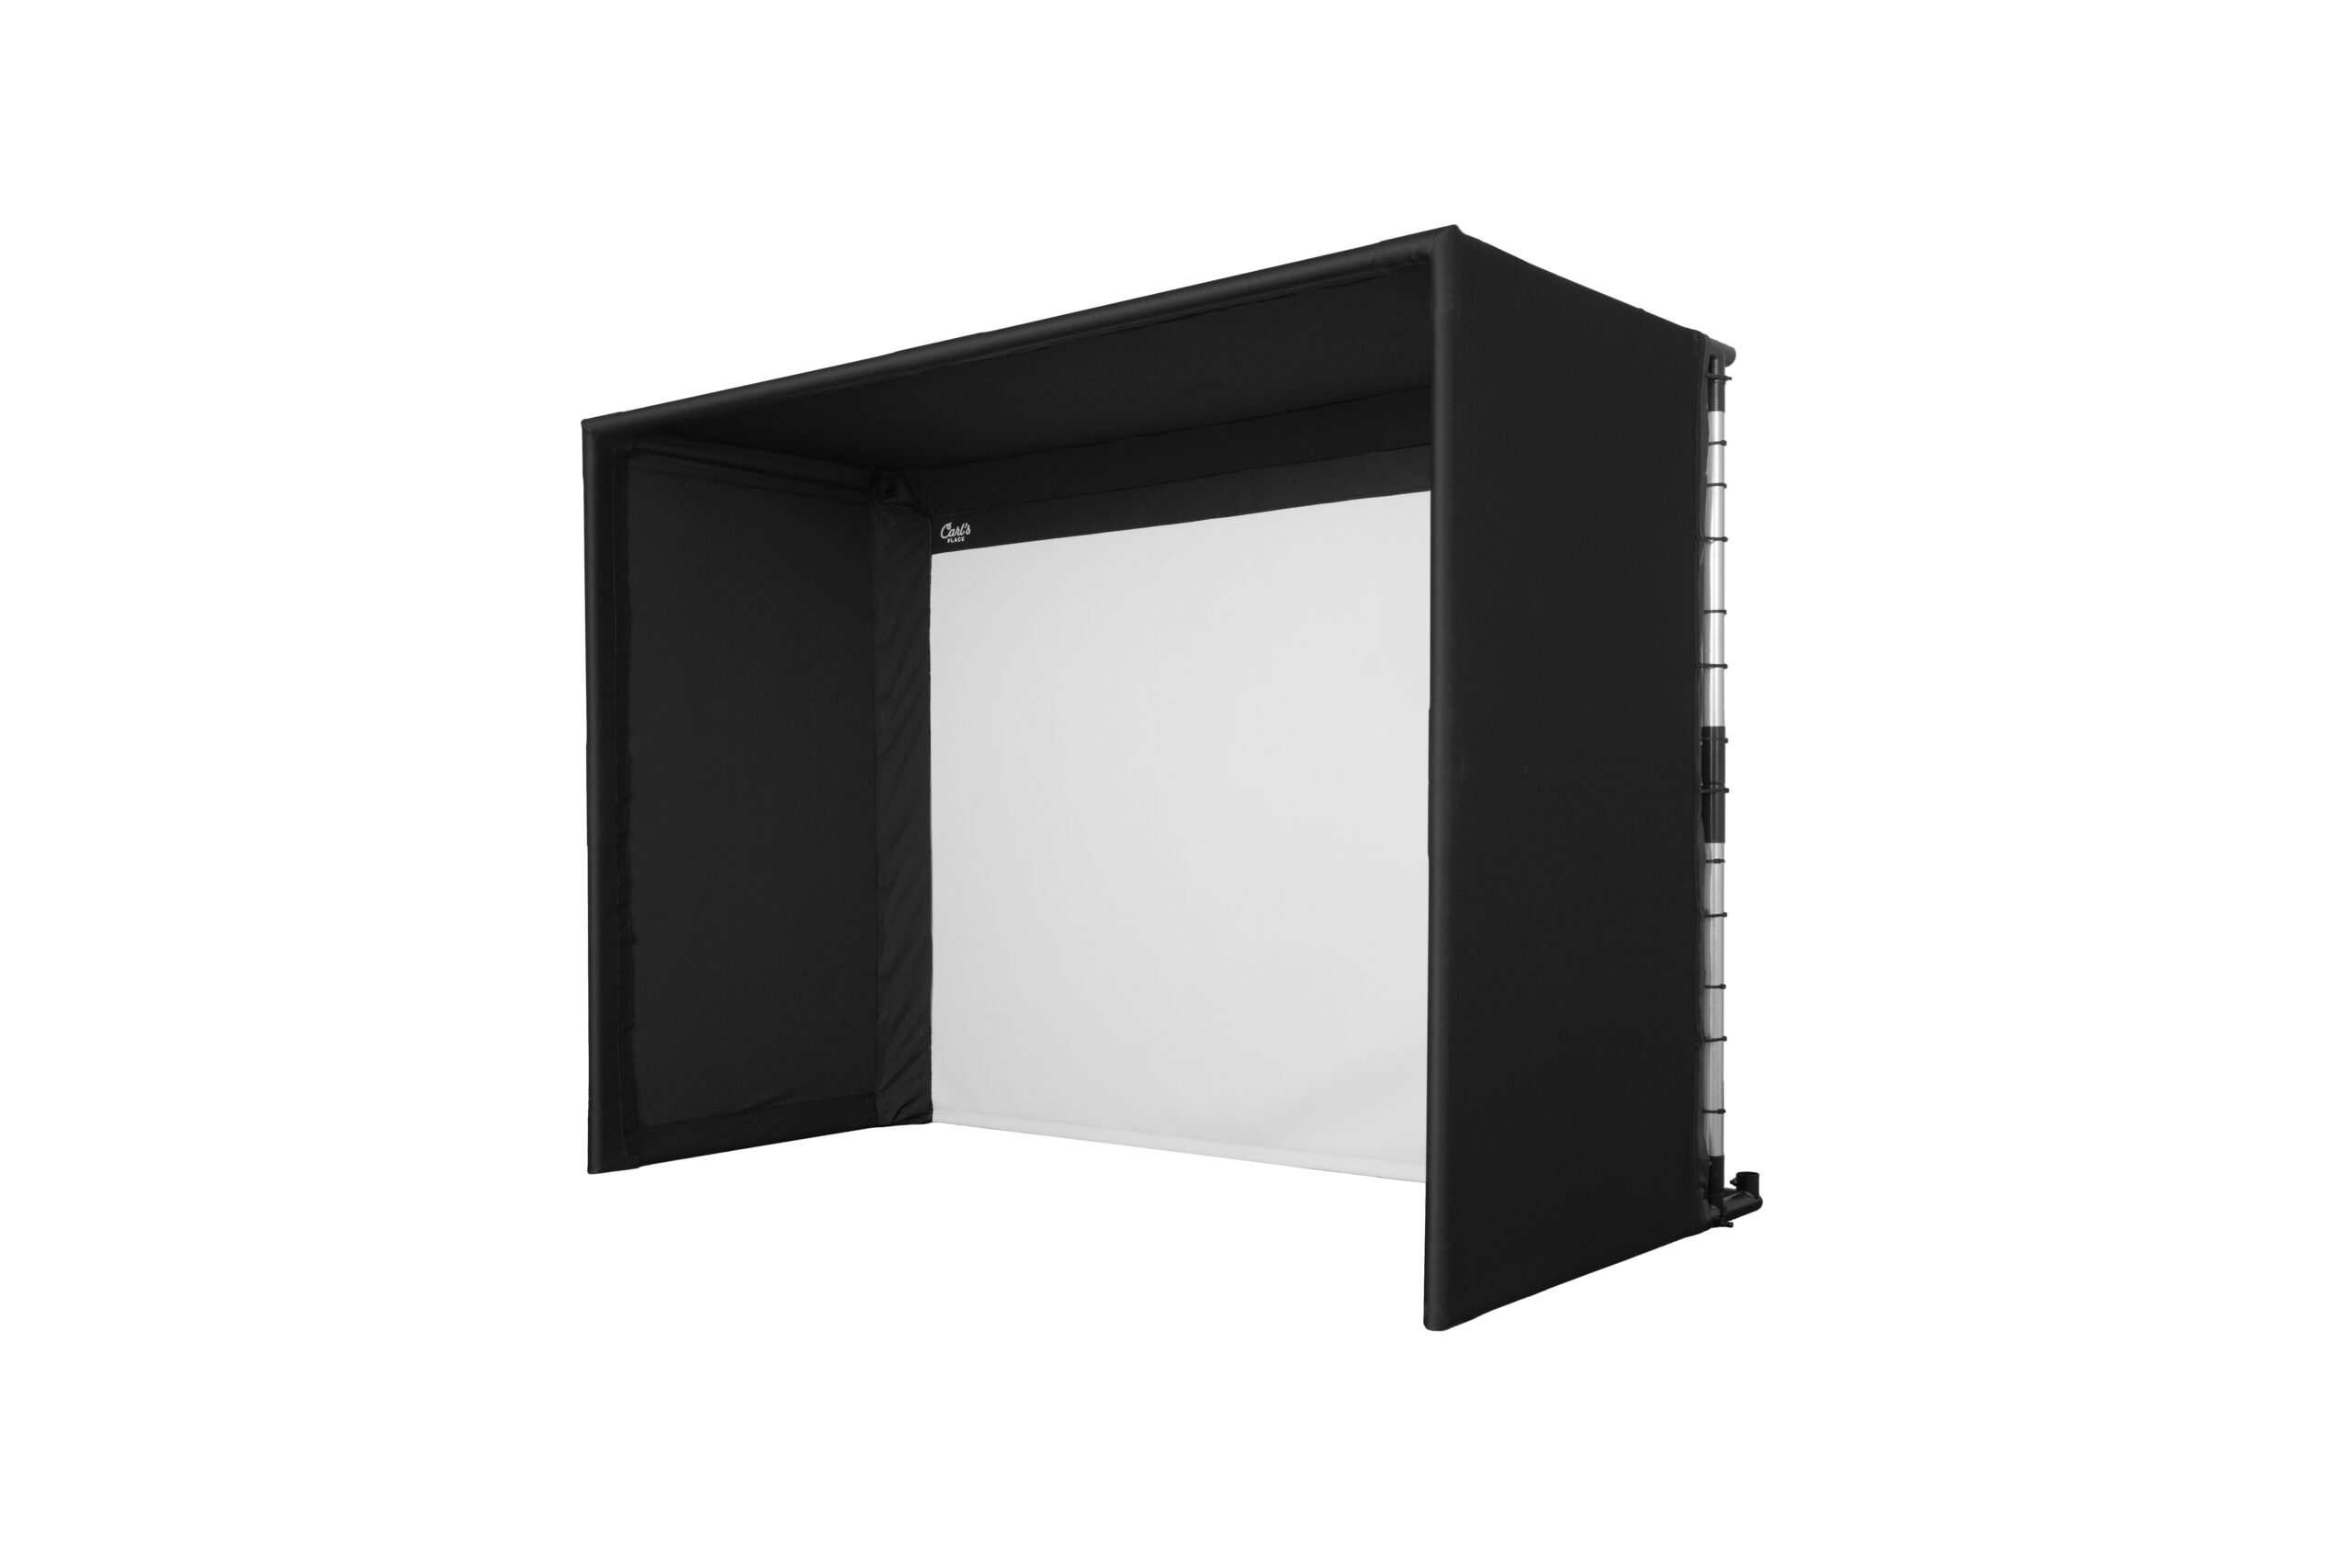
This golf simulator enclosure buying guide compares a DIY kit with a larger custom or Pro-style build. The right choice depends on your room dimensions, how permanent you want the simulator to be, the protection your room needs, and whether you plan to mount electronics to the enclosure frame.
A DIY kit is usually the practical choice for a garage, basement, spare room, or multipurpose space. A custom or Pro enclosure makes more sense for a dedicated simulator room, teaching studio, commercial bay, or any installation that needs a stronger frame, greater depth, and more mounting flexibility.
Before selecting either one, confirm your ceiling height, room width, total depth, hitting position, projector throw distance, and launch-monitor placement. Our Golf Simulator Room Dimensions by Launch Monitor Type guide explains how the equipment can change the amount of space you need.
What “DIY” and “Custom” Actually Mean
Both options require assembly. The difference is not whether you build it yourself. The difference is the frame, enclosure depth, screen choices, mounting options, and how closely the enclosure is designed around the room.
DIY Enclosure Kit
The Carl’s Place DIY Golf Enclosure uses a 1-inch EMT frame system. It is designed for home golfers who want compatible enclosure materials, an impact screen, fittings, and attachment hardware without moving into a larger Pro build.
The DIY enclosure offers Standard, Preferred, Premium, and High-Contrast Gray impact-screen options. The enclosure kit includes the selected impact screen, black surround material, steel corner fittings, bungees, and fasteners. Framing pipes, hitting mat, launch monitor, and projector are separate. A matching pipe kit, back cover, safety baffle, and foam inserts can be selected through the product add-ons.
Custom or Pro Enclosure Build
The Pro Indoor Golf Enclosure uses a stronger 2-inch EMT frame system and is available in deeper and larger configurations. It is better suited to dedicated rooms, premium home installations, training studios, and commercial spaces.
The Pro enclosure includes a Premium or High-Contrast Gray impact screen, BlackStop™ surround material, frame fittings and connectors, and foam padding inserts. The matching pipe-framing kit is separate. Back-cover components, a movable ceiling crossbar, hitting mats, launch monitors, and projectors can also be selected separately.
Golf Simulator Enclosure Buying Guide Comparison
Swipe left/right to view the full table →
| Feature | DIY Enclosure Kit | Custom or Pro Build |
|---|---|---|
| Best fit | Garages, basements, spare rooms, and flexible home spaces | Dedicated rooms, premium home builds, teaching studios, and commercial bays |
| Frame system | 1-inch EMT | 2-inch EMT |
| Screen choices | Standard, Preferred, Premium, or High-Contrast Gray | Premium or High-Contrast Gray |
| Electronics mounting | Normally ground-based or independently ceiling-mounted equipment | Stronger frame provides more options for compatible projector, lighting, camera, or launch-monitor mounts |
| Enclosure depth | Practical sizes for common home rooms | Deeper options for improved containment and immersion |
| Assembly | Homeowner or contractor assembly | Homeowner or contractor assembly with more planning and larger components |
| Starting enclosure cost | $1,000–$1,875 before optional add-ons | $3,410–$5,610 before optional add-ons |
Prices shown are the current Porters Golf product ranges and may change with size, screen selection, and optional components.
1. Measure the Complete Room
A golf simulator enclosure buying guide is only useful if the enclosure actually fits. Measure the room at its narrowest and lowest points, not only across the open floor. Garage-door rails, ceiling-mounted openers, beams, ducts, soffits, lights, outlets, and doors can reduce usable space.
- Height: Leave assembly clearance above the enclosure and confirm every golfer can make a full swing safely.
- Width: Leave space on both sides of the enclosure and enough room for the golfer’s backswing and follow-through.
- Depth: Include the enclosure, rear clearance, hitting distance, launch-monitor space, and walking room behind the golfer.
- Hitting position: Confirm that both right- and left-handed golfers can stand and swing without moving equipment.
Carl’s Place recommends allowing approximately 2–3 inches on each side and at least 2 inches above most enclosures for assembly. Rear clearance is also required for fittings and screen movement. Follow the exact dimensions supplied for the selected enclosure rather than relying on the advertised screen size alone.
2. Plan for Safe Hitting Distance and Screen Movement
The impact screen must have room to move when struck. Installing it tightly against a wall increases noise, wall damage, and bounceback risk. The screen also needs proper tension—tight enough to stay smooth, but not so tight that it rebounds the ball aggressively.
Manufacturer guidance generally places the golfer about 10–12 feet from the impact screen. Your actual hitting position must also satisfy the launch monitor’s requirements. Radar models normally need room behind the golfer and enough ball flight in front, while camera systems beside the ball need less total depth.
If the room is shallow, do not select a deep enclosure simply because it looks more immersive. The golfer still needs enough open space to swing safely and position the launch monitor correctly.
3. Choose the Screen for the Room
The impact screen affects projected image quality, sound, durability, and cost. This golf simulator enclosure buying guide recommends choosing the screen based on how you will use the simulator rather than automatically selecting the most expensive option.
- Standard: A budget-minded DIY option when projection quality is not the highest priority.
- Preferred: A balanced DIY choice for regular practice and simulator play.
- Premium: The best choice when image quality and a polished simulator experience matter most.
- High-Contrast Gray: Designed to improve perceived contrast in rooms with some ambient light.
Screen dimensions and enclosure dimensions are not the same. The viewable screen area is smaller than the complete frame. Match the projector’s aspect ratio and throw distance to the viewable area before ordering.
4. Decide How Much Room Protection You Need
An enclosure protects more than the impact screen. It also helps contain shots that travel high, low, or wide. Newer golfers, children, guests, and high-loft wedge shots usually justify more side and ceiling protection.
- Back cover: Helps close the rear of the enclosure and protect the wall behind the impact screen.
- Safety baffle: Helps contain high shots near the front ceiling area.
- Foam inserts: Cover exposed frame areas and help reduce bounceback from the enclosure structure.
- Net wall extensions: Expand protection outside the enclosure edges for pushed or pulled shots.
- Wall and acoustic tiles: Add protection and can help control sound in a finished simulator room.
For matching components, compare the Carl’s DIY Back Cover Kit, Carl’s Pro Back Cover Kit, and the full Porters Golf enclosure collection.
5. Plan the Projector and Launch Monitor Before Ordering
Do not choose the enclosure first and assume every projector or launch monitor will fit later. A projector must fill the screen from an available mounting position without creating a shadow or sitting in the golfer’s swing path.
Overhead launch monitors need a clear mounting location at the manufacturer’s required height and distance from the ball. Floor-mounted camera systems need open space beside the hitting area. Radar systems sit behind the ball and usually require greater room depth.
A Pro frame may provide more mounting flexibility, but every mount must be approved for the specific enclosure and equipment. Never attach heavy electronics to a frame unless the enclosure manufacturer supports that mounting method.
6. Compare the Complete Cost
The enclosure price is not the complete simulator cost. Before deciding between DIY and custom, include every required and optional component in the same budget.
- Enclosure and impact screen
- Pipe-framing kit or locally sourced EMT
- Back cover and matching back-cover pipes
- Safety baffle and foam inserts
- Hitting mat, base, and surrounding turf
- Launch monitor and simulator software
- Projector, mount, cables, and power access
- Computer or compatible mobile device
- Freight, room preparation, and contractor labor if needed
A DIY kit normally lowers the initial enclosure cost, but the savings can shrink if you later add a pipe kit, back cover, baffle, foam, and other protection. A Pro build costs more up front but may be the better long-term choice when the room is dedicated to golf and the simulator will be used frequently.
7. Choose DIY or Custom Based on the Finished Room
Choose a DIY enclosure kit if:
- You want a practical home simulator at a lower starting cost.
- The simulator is going in a garage, basement, spare room, or flexible space.
- You are comfortable assembling the frame and adding separately selected components.
- You do not need the enclosure frame to support a more complex electronics layout.
Choose a custom or Pro enclosure if:
- You are building a dedicated simulator room, teaching studio, or commercial bay.
- You want a stronger 2-inch frame and deeper enclosure options.
- You need more flexibility for compatible electronics mounting.
- You want a more substantial, finished simulator bay for regular use.
If maximum immersion is the priority, the Curved Golf Enclosure adds a wider curved presentation for larger premium spaces.
Final Recommendation
The best choice is the enclosure that fits the complete room after accounting for clearance, screen movement, hitting distance, projector placement, and launch-monitor requirements. For many home golfers, the DIY kit provides the right balance of price, protection, and flexibility. The Pro enclosure becomes the better investment when the room is permanent, the build is larger, or the frame needs to support a more advanced simulator layout.
For additional manufacturer guidance, review Carl’s Place’s golf simulator enclosure sizing guide.
Not Sure Which Enclosure Fits Your Room?
Send us your room dimensions, budget, launch monitor, and installation goals. We’ll help you compare the available enclosure options and choose components that work together.
Get My Free Custom Recommendation