
Home Golf Simulator Budget Planner: Where to Spend and Where to Save

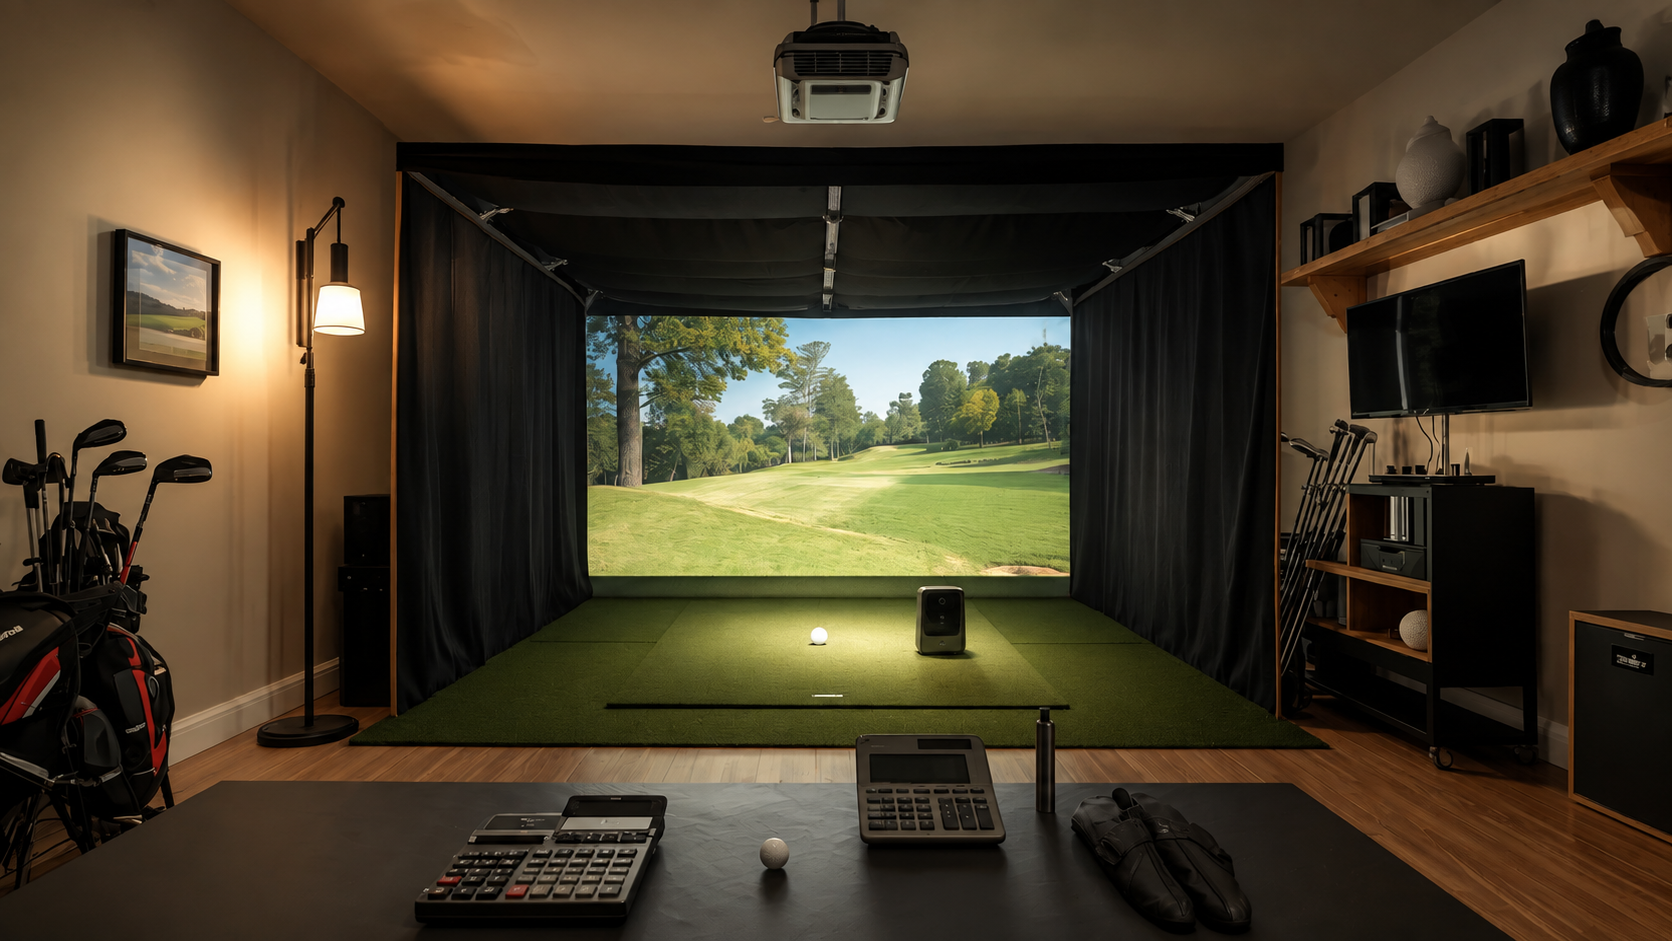
1. Set a Real All-In Budget Before You Shop
A home golf simulator budget should cover the complete setup, not just the launch monitor. Before you shop, decide how much you can comfortably spend on the launch monitor, hitting surface, enclosure or net, display, computer, software, mounting hardware, padding, cables, and room preparation.
The easiest way to overspend is to buy the main device first and figure out everything else later. A launch monitor that looks affordable can require a computer, paid software, more room, or accessories that were not part of the original number.
If you still need help understanding the equipment itself, use our complete home golf simulator guide. This page focuses specifically on where your money should go and where you can safely spend less.
Before setting your number, measure the room. Our golf simulator room dimensions guide explains how radar, floor-mounted camera, and overhead systems can change the space—and the budget—you need.
2. Spend First on the Launch Monitor
The launch monitor controls the shot data, software compatibility, room layout, and much of the long-term experience. For most builds, it should receive the largest share of the home golf simulator budget.
Spend more here when you want detailed club data, frequent practice, better indoor performance, or a permanent system that will be used by several golfers. You may be able to spend less if your main goal is basic ball-flight feedback, occasional practice, or a net-and-TV setup.
Do not compare launch monitors by price alone. One model may work with a phone or tablet, while another requires a compatible computer. One may sit beside the ball, while a radar unit may need considerable space behind the golfer and in front of the ball.
For example, FlightScope lists a limited-flight setup for the Mevo Gen2 at about 8 feet from the unit to the tee plus 8 feet of ball flight. Uneekor lists a PC as required and not included with the EYE MINI LITE. Review the current FlightScope Mevo Gen2 requirements and Uneekor EYE MINI LITE requirements to see how the launch-monitor choice can affect the rest of the build.
Browse our complete selection of golf launch monitors after you know which technology fits your space.
3. Do Not Cut Corners on the Hitting Surface
The hitting mat is one of the least exciting purchases, but it is the part your body feels on every swing. A thin mat placed directly over concrete may save money at first, but it can feel harsh during regular practice.
Spend for a stable stance area and a quality hitting section. If you need to save, use a simpler stance mat with a better replaceable hitting strip instead of paying for wall-to-wall turf immediately.
- Spend more when several golfers will use the room or you plan to practice frequently.
- Save by delaying decorative turf around the hitting area.
- Do not sacrifice a level stance or a secure hitting position just to reduce the initial price.
Compare the available hitting mats and bases before deciding how much of the room needs to be finished now.
4. Buy the Safety and Screen Quality You Need
An enclosure is more than a frame around the picture. It supports the impact screen and helps contain missed shots. Spend according to the room, the golfers using it, and what is beside the hitting area.
A dedicated room used by experienced golfers may need a different level of side protection than a multipurpose garage used by family members and guests. Do not remove necessary padding, side protection, or overhead protection just to force the build into a lower number.
You can save by choosing a practical standard-size enclosure instead of a fully customized room. You can also start with a quality net and television if projection is not important yet. Browse golf simulator enclosures and impact screens based on the measurements you already confirmed.
5. Match the Projector to the Room Instead of the Price Tag
A projector can take a large portion of a home golf simulator budget, but the most expensive model is not automatically the right one. Throw ratio, mounting position, screen size, aspect ratio, ambient light, and resolution all need to work together.
A good 1080p projector can be a sensible way to save in a controlled-light room. A brighter or 4K model may be worth the additional cost when the room has more ambient light, the screen is large, or image quality is a priority. The wrong throw ratio remains the wrong projector regardless of resolution.
- Confirm the projector-to-screen distance before buying.
- Include the ceiling mount, cables, and power location in the budget.
- Use a television or monitor first if projection is not essential to your practice goals.
See the current projectors and cameras available from Porters Golf.
6. Reuse a Computer or Display Only When It Is Compatible
Using equipment you already own can create real savings, but only if it meets the requirements of the launch monitor and simulator software. An older laptop may run practice software but struggle with a detailed golf course. An existing television may work well for a practice-focused system even if it is not the final display you want.
Before removing a computer from the home golf simulator budget, check the operating system, processor, memory, graphics card, available ports, internet or network requirements, and the software you plan to use. Also check whether the launch monitor supports the phone, tablet, or computer you already own.
If a new computer is required, compare our golf simulator computers and monitors. Buying a properly matched computer once is usually better than replacing an underpowered one after the room is finished.
7. Keep Part of the Budget for the Pieces People Forget
Do not spend the entire home golf simulator budget on the obvious equipment. Keep a reserve for software, subscriptions, cables, mounts, adapters, ball markers or club stickers, electrical work, floor protection, safety padding, shipping, and room adjustments.
A reasonable starting point is to hold back about 10% of the planned equipment budget until every required part has been confirmed. You may not use all of it, but it is better than discovering that the projector mount, computer, software plan, or required connection was never included.
Decorative upgrades can come later. Seating, wall treatments, extra displays, full-room turf, upgraded lighting, and custom storage can improve the room without preventing the core simulator from working on day one.
Example Home Golf Simulator Budget Split
This example is a planning tool for a projected home setup, not a required formula. Your room and launch-monitor choice may move money from one category to another.
| Budget Category | Example Share | What It Covers |
|---|---|---|
| Launch monitor | 35% | Tracking hardware and any required core accessories |
| Enclosure, screen, or net | 25% | Impact area, frame, screen, netting, and necessary protection |
| Projector or display | 15% | Projector or television, mount, and display connections |
| Hitting mat and base | 10% | Stance mat, hitting strip, base, and floor protection |
| Computer and software | 10% | Compatible computer plus the software needed to practice or play |
| Reserve | 5% | Cables, adapters, mounting parts, padding, and small room adjustments |
Where to Spend and Where to Save
| Component | Spend More When | Where You Can Save |
|---|---|---|
| Launch monitor | You want detailed data, frequent use, or a permanent system | Choose a simpler practice-focused model when basic feedback meets your goals |
| Hitting surface | You practice often or multiple golfers will use the room | Delay decorative turf and use a quality replaceable hitting strip |
| Enclosure and screen | The room needs more protection or projection quality is important | Start with a quality net and television for practice-focused use |
| Projector | The screen is large, the room is brighter, or 4K is a priority | Use 1080p in controlled light or begin with an existing television |
| Computer | Your monitor and software require stronger PC performance | Reuse a computer only after confirming every requirement |
| Room finish | You are completing a permanent premium room | Add seating, storage, wall treatments, and full-room turf later |
Should You Buy a Package or Build It One Piece at a Time?
A package can make the home golf simulator budget easier to control because the major components are selected together. It can also reduce the risk of buying an enclosure, screen, projector, or launch monitor that does not fit the rest of the setup.
Building one piece at a time can work well when you already own useful equipment or want to start with a net and add projection later. It requires more compatibility checking, but it gives you more control over when the money is spent.
Browse our complete golf simulator packages to compare matched starting points across several budget levels.
Final Budget Check Before You Buy
Before placing an order, confirm these items:
- The room dimensions work for the selected launch monitor.
- The enclosure or net fits the available width, height, and depth.
- The projector throw ratio and image size match the screen.
- The computer or mobile device supports the monitor and software.
- Required software, subscriptions, mounts, cables, and accessories are included in the total.
- Necessary safety protection and a suitable hitting surface have not been removed to lower the price.
The best home golf simulator budget is not automatically the lowest one. It is the amount that gives you compatible equipment, a safe hitting area, and a clear upgrade path without paying for features you do not need.
Not Sure Where Your Money Should Go?
Tell us your room dimensions, budget, equipment you already own, and how you plan to use the simulator. We will recommend a setup that works together without adding equipment you do not need.
Get My Free Custom Recommendation